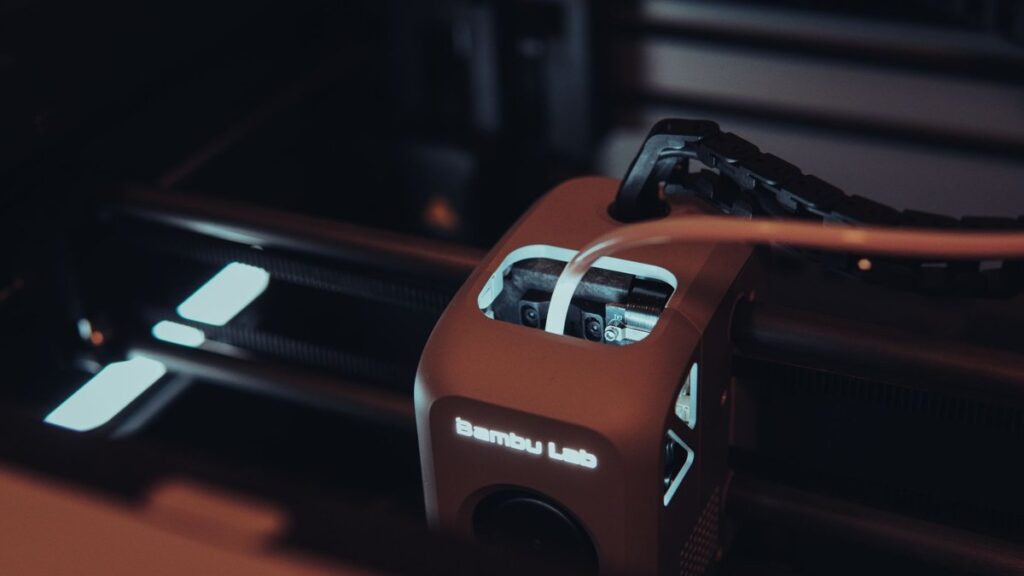
Ninety per cent of first-layer failures on a Bambu Lab P1S come down to three things: a contaminated plate, the wrong Z-offset, and a bed temperature that doesn’t match the filament. Fix those in order and most adhesion problems disappear before you touch anything exotic. This guide gives you the exact first layer adhesion Bambu P1S settings that work — bed temps by material, the Z-offset method the P1S actually uses (it’s not a slider), first-layer speed and height, and the plate/chamber trade-offs that trip up ABS and PETG.
The P1S is enclosed and ships with a Bambu Dual-Texture PEI plate, but it has no LiDAR and no load-cell sensor. That single fact changes how you calibrate: there’s no auto flow-dynamics, and Z-offset lives in the start G-code rather than a tidy slider. Get comfortable with that and the machine is extremely consistent.
Start here: clean the plate properly (the #1 cause)
Fingerprints and skin oils are the single most common reason a first layer won’t stick on the P1S. The oil transfers to the sheet, and you’ll usually only see the marks during the first layer — right where they wreck adhesion. Before you change a single setting, clean the plate.
For the textured PEI plate, Bambu’s official recommendation is washing-up liquid, not alcohol. The logic is mechanical: alcohol can just smear oil around inside the textured surface, whereas a grease-cutting detergent (Fairy in the UK, Dawn in the US) with a soft sponge actually lifts it out of the texture. Rinse thoroughly under warm water, handle the plate by the edges only, and let it air-dry.
You’ll see plenty of third-party guides recommending a 90%+ isopropyl alcohol (IPA) wipe instead. That advice is sound for a smooth PEI plate, and a high-strength IPA wipe between prints is a reasonable maintenance step on textured too — but note that 70% “rubbing alcohol” contains water and additives that leave a residue, so if you use IPA, use 90%+ so it flashes off cleanly. When in doubt, follow Bambu: detergent for textured, IPA for smooth.
- Never use green (aggressive) Scotch-Brite pads on textured PEI — they’re too abrasive and will destroy the coating.
- Never clean with acetone; it damages the PEI surface.
- Glazed, shiny textured plate losing grip? Careful hand-sanding with 600-grit can restore it — but treat the plate as a consumable. The textured plate’s sheet cannot be replaced, and the warranty covers manufacturing defects only, not wear.
- Let the plate cool for a few minutes after a print. Prints release far more easily cold, and yanking a hot part shortens plate life.
If your first layer already looks wrong and you’re not sure why, our vision-AI Diagnose tool reads a photo of the failure and tells you whether it’s contamination, squish or temperature — with slicer-specific fixes.
Bed temperature by material (Bambu textured PEI figures)
A higher bed temperature increases adhesion, so if a material is lifting, nudge the bed up before anything else. These are Bambu’s own textured-PEI figures for the P1S:
| Material | Bed temp (textured PEI) | Glue needed? | Recommended plate |
|---|---|---|---|
| PLA / PLA-CF / PLA-GF | 45–60 °C | No | Textured PEI |
| PETG | 60–80 °C | No | Textured PEI |
| TPU | 35–45 °C | Yes (glue) | Textured / smooth |
| ABS | 90–100 °C | No | Smooth PEI |
| ASA | 90–100 °C | No | Smooth PEI |
| PC / PC-CF | 90–110 °C | Yes (glue) | Smooth PEI |
| PVA | 45–60 °C | No | Textured PEI |
Two caveats worth knowing. First, Bambu Studio’s default bed temperature for its own PLA Basic has been reported as high — around 65 °C for first and subsequent layers — and some spools warp or curl at that. If you’re seeing corner lift on PLA, try dropping the bed toward 55 °C rather than raising it. Second, ABS and ASA need a warm bed and a smooth plate. Running them on a cool textured plate is a classic cause of lifting; give them 90–110 °C on smooth PEI.
Nozzle temperature and the P1S “wrong temp” bug
Nozzle temperature affects how the plastic flows and squishes onto the bed, so it’s part of adhesion, not just extrusion. Practitioner ranges: run most PLA at 215–225 °C and PETG at 240–255 °C. Warmer means better flow and better mechanical keying into the texture — within reason.
Watch for a known Bambu Studio bug reported on the P1S in 2025: with the material set to PETG, the job slices correctly but the printer can start the first layer at generic PLA values — 220 °C nozzle and 55 °C bed — instead of your PETG settings. If PETG first layers are inexplicably poor, check the live temperatures on the printer at print start, not just the slicer profile. Our G-code pre-flight checklist catches this class of mismatch before you commit to a print.
Z-offset on the P1S: it’s start G-code, not a slider
This is the setting most P1S owners get stuck on. The P1S has no LiDAR mesh, so in Bambu Studio there is no Z-offset slider. You adjust “squish” by editing the start G-code directly:
- Open Printer Settings → Machine G-code → Machine start G-code.
- Scroll to the Z-offset line for your build plate (look for the
G29.1 Z{...}section for the textured plate). - Change the value one step at a time and retest. A more negative number brings the nozzle closer to the bed (more squish); moving toward 0 lifts it away.
Default values are cited inconsistently across sources — some report −0.04 for textured PEI, others −0.02 textured and 0.00 smooth. This is version-dependent, so read your own start G-code rather than trusting a number from a forum. Change it in 0.01–0.02 mm steps.
Don’t over-squish. Cramming the first layer too thin is counter-productive: you get elephant’s foot, poor dimensional accuracy, and sometimes worse adhesion as material is forced sideways instead of bonding. The paper test gets you close; actual extrusion tells the truth. Always validate a Z change on a small test print — a first-layer patch or a 20 mm square — never a 12-hour model.
If you’d rather have a real Z-offset field plus extra calibrations, many P1S owners run OrcaSlicer, which is near-identical to Bambu Studio but exposes Z-offset directly in Printer Settings and adds calibration routines Studio lacks. Our OrcaSlicer first layer adhesion settings guide covers the exact values there.
First layer height, speed and brim
For a 0.4 mm nozzle, use a first layer height of 0.2 mm as the safe default. It’s forgiving of minor bed deviation and lays a solid foundation. You can drop to 0.15 mm for finer bottom detail, but don’t go lower — you lose the tolerance that hides small levelling errors. If you want a bit more grip, set first-layer height to 105–120% of your normal layer height.
Slow the first layer down. Reduce first-layer speed by 30–50% from your normal print speed; set it in Process → Speed in Bambu Studio (look for the “Slow down first layer” option in presets). The extra dwell time gives the plastic time to bond and the corners time to sit flat.
For small or tall parts, add a brim of 3–8 mm to increase contact area. Set the brim distance (gap) to around 0.1 mm so it peels away cleanly instead of fusing to the part. A raft is the nuclear option — maximum adhesion, but it wastes material and ruins the bottom surface, so reserve it for genuinely warp-prone geometry.
| Setting | Recommended value | Notes |
|---|---|---|
| First layer height | 0.2 mm (min 0.15 mm) | 0.4 mm nozzle; forgiving of bed deviation |
| First layer speed | −30% to −50% of normal | Process → Speed |
| Brim width | 3–8 mm | Small/tall parts only |
| Brim distance | ~0.1 mm | Clean removal |
Chamber and cooling: the P1S enclosure cuts both ways
Because the P1S is enclosed, chamber temperature is a variable you have to manage per material.
- ABS / ASA: Keep the door and lid shut. A warm (~40 °C) chamber cuts warping on tall prints, and opening the door mid-print is one of the most common causes of layer separation. Set first-layer fan speed to 0%.
- PETG: Keep it draught-free but cool — adhesion problems tend to start once the chamber climbs past ~29 °C. Use restrained cooling (drop the fan, don’t blast it) and consider running with the lid off for PETG once the first layer is down.
- PLA: A too-warm enclosed chamber causes PLA to soften and lose grip. Run 100% part-cooling fans and don’t trap heat.
Calibration: what the P1S can and can’t automate
Two calibrations get confused constantly, so keep them separate in your head:
- Flow rate — corrects over/under-extrusion (how much plastic).
- Flow dynamics / pressure advance (K value) — sharpens corners and controls pressure at speed changes.
Here’s the important bit: the P1 series (P1P and P1S) have no LiDAR and no eddy-current sensor, so they cannot auto-calibrate the K value. Bambu’s own wiki confirms auto flow-dynamics is supported on the H2D, X1 and A1 series only — the P1 supports manual calibration only. Run the manual flow-dynamics test in OrcaSlicer (or the manual routine in Studio), read the best line off the printed pattern, and save the K value to your filament profile. It’s a five-minute job that dramatically improves first-layer edge quality.
For the deeper material-specific tuning, our guides on PLA first layer adhesion and PETG first layer adhesion go setting-by-setting.
FAQ
What bed temperature should I use for PLA on the Bambu P1S?
Bambu’s textured PEI range for PLA is 45–60 °C. Start at 55 °C. If corners lift, raise the bed; if you get elephant’s foot or curling on some spools (Bambu Studio’s 65 °C PLA default is on the high side), drop toward 50 °C.
How do I set the Z-offset on a P1S if there’s no slider?
In Bambu Studio, edit the start G-code: Printer Settings → Machine G-code → Machine start G-code, find the Z-offset line for your plate (e.g. G29.1 Z{...}), and change it in 0.01–0.02 mm steps — more negative for more squish. Or switch to OrcaSlicer, which gives you a proper Z-offset field. Test on a small print.
Why won’t PETG stick on my P1S even with the door shut?
PETG first-layer adhesion drops once the chamber gets above about 29 °C, so a hot enclosure works against you. Keep it draught-free but cool, use gentle cooling rather than none, and check the live nozzle/bed temps at print start — a known Studio bug can start PETG jobs at PLA temperatures.
Can the P1S auto-calibrate flow dynamics?
No. The P1 series has no LiDAR or eddy sensor, so flow dynamics (pressure advance / K value) must be done manually. Only the X1, A1 and H2D series support auto flow-dynamics. Run the manual test and save the K value to your filament profile.
Related: First Layer Adhesion Problems on Bambu Lab Printers: The Real Causes and Exact Fixes
Related: First Layer Adhesion Problems on the Bambu P1S: The Real Causes and Exact Fixes