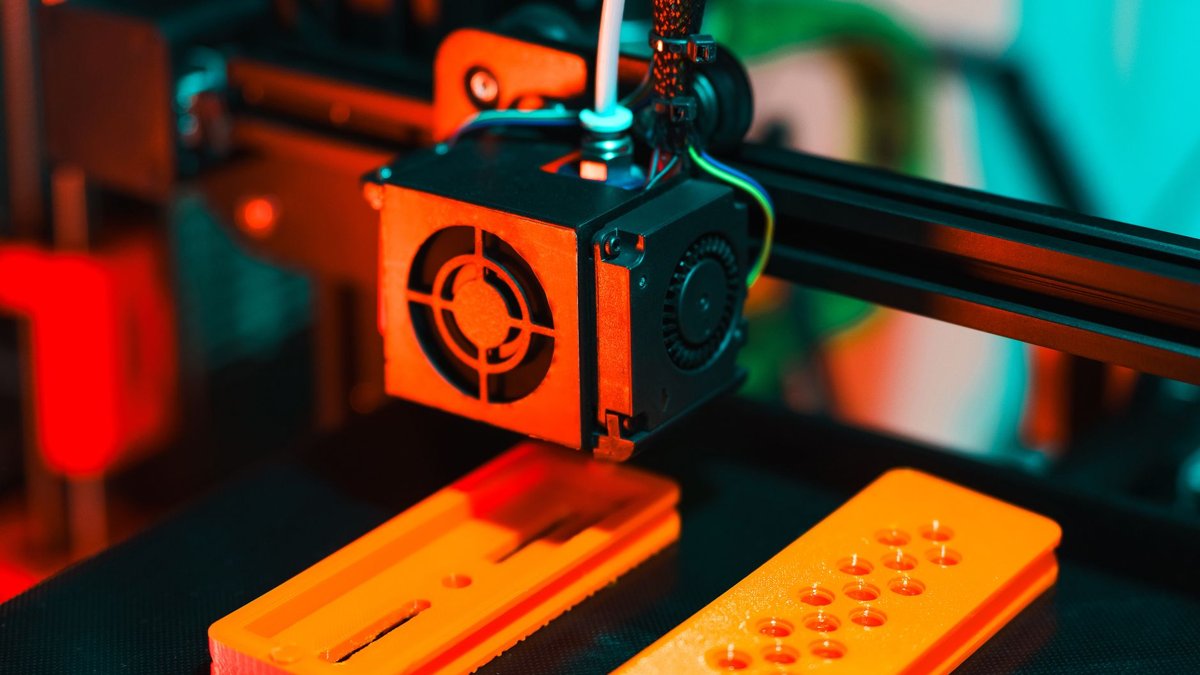
Most FDM failures collapse into six root causes: poor bed adhesion, the wrong temperature, wet filament, a nozzle clog, a mechanical motion fault, or a mismatched slicer profile. A good 3D print defect identifier works backwards from that — it reads the visible symptom, maps it to the most likely cause, and tells you the one change that actually moves the needle instead of the five that don’t. This guide is that map: for each defect you’ll get the mechanism, the triage question that confirms it, and the fix order that resolves it fastest.
Before anything else, learn to triage by when and where the print failed. That single habit rules out whole categories of cause in seconds.
Triage first: what the failure point tells you
The timing and location of a defect narrows the cause before you touch a setting. Use this as your first pass:
| What you see | Most likely fault |
|---|---|
| Not sticking at all, or corners curling up off the plate | First-layer adhesion or warping |
| Bottom two or three layers visibly wider than the walls above | Elephant’s foot |
| Nozzle dragging through plastic it already laid down | Z-offset too low |
| Layers splitting cleanly along a layer line | Layer separation (delamination) |
| Everything above a certain height offset sideways | Layer shifting |
| Walls thin, gappy, or weaker than they should be | Under-extrusion |
| Surfaces lumpy, zits and blobs, part measures oversized | Over-extrusion |
| Fine hairs or blobs strung between parts | Stringing / oozing |
Two rules save the most time. First, rule out Z-offset before anything else — it masquerades as half a dozen other failures, from elephant’s foot to under-extrusion to a dragging nozzle. Second, adhesion problems show up in the first ten minutes, so if it survived the base and detached later, treat it as a warping problem, not an adhesion one. The fixes diverge from there.
Bed adhesion and the first layer
An unlevel bed is the single most common root cause of FDM failure, and poor first-layer adhesion is how it shows up. The usual culprits are: the bed isn’t level, the nozzle is too far from the plate on the first pass, the build surface is dirty or not hot enough, or the model’s footprint is too small to hold it down.
Work the fixes in this order — cheapest and most common first:
- Clean the plate with IPA. Skin oils alone will drop a print.
- Lower the Z-offset in 0.02 mm steps until the first layer is squished, not rounded.
- Raise bed temperature (PLA 60 °C, PETG 80 °C, ABS 110 °C as starting points).
- Slow the first layer to 20–30 mm/s so it has time to key into the surface.
One environmental factor gets overlooked: draughts. A cold draught across the plate kills first-layer adhesion even when everything else is right, so shield the printer from direct airflow. If you want a second opinion on a specific failure, you can diagnose a failed print from a photo and get the slicer changes spelled out.
Warping and corner lift
Warping is a cooling problem, not an adhesion one. As a part cools unevenly, differential cooling induces residual stresses, and those stresses deform the part and pull its corners off the plate. That’s why a print can adhere perfectly for twenty layers and then lift — the stress finally wins.
The fixes attack the cooling, not the stickiness:
- Print on a heated bed, and keep it hot — don’t let the base cool prematurely.
- Add a brim or raft for extra edge adhesion where the stress concentrates.
- Slow the first few layers so they cool more evenly.
- For ABS and ASA, enclose the printer — even a cardboard or acrylic box — to keep ambient warm and stable and eliminate draughts. This is the dominant fix for ABS/ASA warping.
If a part sticks then detaches partway up, that’s your tell: enclosure, lower cooling, higher bed temperature, brim.
Elephant’s foot: the flared base
Elephant’s foot is where the first few layers bulge outward, so the base ends up wider than the walls above it. Two mechanisms combine: a mechanical one — the nozzle squashing the base against a hot bed — and a thermal one — the weight of the part above spreading a base that’s still soft. In practice it’s a three-variable interaction between Z-offset, bed temperature and first-layer flow.
Fix it in this order so you’re not compensating for a problem you could have eliminated:
- Confirm Z-offset and levelling first. This rules out the cheapest and most common cause.
- Step the bed temperature down after the first few layers to address the thermal mechanism directly.
- Add Elephant Foot Compensation as the purpose-built slicer fix.
A combination that solves roughly 95% of cases: set Elephant Foot Compensation to 0.15 mm, lower bed temperature 5 °C from default, verify the Z-offset, and make sure the cooling fan engages from layer 2.
Mind the slicer naming and sign conventions — they genuinely differ between tools:
| Slicer | Setting name | Typical value |
|---|---|---|
| Cura | Initial Layer Horizontal Expansion | −0.1 to −0.2 mm (negative to shrink) |
| PrusaSlicer | Elephant foot compensation | 0.1 to 0.3 mm (positive = inset) |
| OrcaSlicer / Bambu Studio | Elephant foot compensation | 0.1 to 0.2 mm |
Severity triage: at 0.2–0.3 mm, fix Z-offset and bed temperature first, then compensate what’s left. Over 0.3 mm, the cause is upstream — nozzle far too low, bed far too hot, or flow too high — and compensation alone will mask it rather than fix it. Note that some modern printers (Bambu, Creality K1C) only let you set a target bed temperature, so the “step it down mid-print” trick isn’t always on the table.
Stringing and oozing
Stringing is molten plastic oozing out of the nozzle during travel moves. There’s a genuine debate about whether to tune temperature or retraction first, and the honest answer is it depends on your setup.
The temperature-first logic is hard to argue with on a hot hotend: if your temperature is 10 °C too high, no retraction setting will eliminate stringing — retraction can only relieve pressure, it can’t stop overheated filament from oozing. A useful diagnostic rule for all-metal hotends: if you need more than 3 mm of retraction to stop stringing, your problem is temperature, not distance.
A workable order that covers both camps:
- Lower the nozzle temperature 5 °C at a time until stringing improves — but not so far you cause under-extrusion.
- Set retraction sensibly for your drive: 0.5–2 mm for direct, 4–7 mm for Bowden.
- Increase travel speed to 150–250 mm/s.
- Use Pressure Advance (Klipper) or Linear Advance (Marlin) to reduce ooze without dropping temperature.
Material and brand both matter. PETG is more prone to stringing than PLA because its higher glass transition temperature keeps it fluid longer; TPU is very oozy and retraction is often disabled entirely. And profiles don’t transfer blindly — the retraction setting for eSun PLA+ at 205 °C can string with Overture PLA at the same temperature. Thin, hair-like strings point to mild oozing or slightly high temperature; thick, blobby strings point to high temperature, disabled retraction, wet filament, or slow travel.
Under-extrusion vs over-extrusion
These are the two flow faults, and they look nothing alike. Under-extrusion gives thin, gappy, weak walls and a clicking extruder. A partially clogged nozzle is the most common cause — clear it with a cold pull: heat to printing temperature, insert cleaning filament, cool to 90 °C for PLA, then firmly pull the filament out to drag the debris with it.
Other under-extrusion causes worth checking:
- Filament diameter variation. Measure at several points; if variation exceeds ±0.03 mm, switch to a more consistent brand.
- Temperature too low. Raise it in 5 °C increments and watch for improvement.
- Heat creep. Confirm the hotend fan runs at full; on long Bowden setups, cut excessive retraction.
One critical overlap: wet filament produces exactly the same symptoms as a partial clog — under-extrusion, thin walls, clicking extruder — but the cause is moisture, not a foreign particle. If a cold pull doesn’t fix it, dry the spool before you tear the hotend apart.
Over-extrusion is the opposite: blobs, zits and rough patches, and the part measures oversized. Reduce the flow multiplier by 2–5%, recalibrate e-steps if you haven’t recently, and verify the slicer’s filament diameter matches your actual filament.
Layer separation and layer shifting
These both affect the upper part of a print but have completely different causes. Layer separation — delamination — is where layers don’t bond, leaving visible cracks along layer lines. It’s distinct from poor first-layer adhesion, which weakens the bond to the plate. The mechanism is bonding: each layer must partially re-melt the one below to weld to it, and FDM parts are weakest along the layer (Z) axis as a result.
Causes are too-low print temperature, excessive part cooling, high speed, or wet filament. Fix in order:
- Raise print temperature in 5 °C increments until it improves.
- Lower part-cooling fan speed in 10% steps. With PETG in particular, fan cooling can weaken layer bonds.
- Slow print speed in 10 mm/s steps — too fast and the plastic can’t bond to the previous layer before it sets.
Layer shifting is mechanical, not thermal: the head or bed lost its position mid-print because a belt is loose, a stepper skipped steps, or something physically knocked the head — a stray blob or a snagged cable. Check belt tension (GT2 belts stretch and lose tension over time), make sure the X and Y axes move freely, and reduce print speed by about 20% while lowering acceleration/jerk for fast, detailed models.
From one-off diagnosis to a fleet that watches itself
Diagnosing from a photo is the right tool when something has already gone wrong. Catching it earlier is better: the G-code pre-flight checklist runs a 40+ rule engine over your sliced file before you commit the filament, flagging the mismatched profile or missing brim that would have caused the failure above. For a deeper look at the underlying method, our guide to 3D print failure diagnosis walks through reading symptoms back to causes.
If you’re running more than one printer — selling parts, working through a queue, tracking cost — a defect identifier has to live on every machine, not on your desk. Printer Farm runs the job end to end: a web order from WooCommerce, Shopify or your own custom website (connected through the farm’s shop API) comes in, stock is used first, one click raises a works order for exactly the shortfall, the browser Cloud Slicer (the real OrcaSlicer engine) slices on your own PC, and the queue dispatches each job to the first free compatible printer with the right filament loaded. Camera-based AI failure detection watches every machine and alerts you, good prints bank into stock with a true cost per part, and despatch raises a numbered delivery note. It works with Creality and any Klipper/Moonraker printer, Bambu Lab in LAN mode, FlashForge, OctoPrint, PrusaLink and Duet; a small agent on a Windows or Linux computer that stays on bridges the printers, and your files stay on your own machine. There’s a free 14-day Workshop trial, no card. For how camera AI catches — and misses — failures, see our write-up on vision AI for 3D printing.
FAQ
What causes most 3D print defects?
Six root causes cover the vast majority of FDM failures: poor bed adhesion, the wrong temperature, wet filament, a nozzle clog, a mechanical motion fault, and a mismatched slicer profile. Triaging by when and where the print failed points you at the right one quickly — adhesion issues appear in the first ten minutes, delamination and shifting appear higher up.
How do I tell under-extrusion from wet filament?
You often can’t by sight — both give thin walls, gaps and a clicking extruder. The difference is in the test: a cold pull clears a partial clog, so if that fixes it, it was a clog. If a cold pull doesn’t help, dry the spool, because wet filament mimics a clog almost exactly.
Should I lower temperature or increase retraction to stop stringing?
If you’re on an all-metal hotend and already past about 3 mm of retraction, the problem is temperature — drop it 5 °C at a time. Otherwise, set a sensible retraction (0.5–2 mm direct, 4–7 mm Bowden), raise travel speed to 150–250 mm/s, and use Pressure Advance or Linear Advance to cut ooze without going colder.
What’s the fastest fix for elephant’s foot?
Set Elephant Foot Compensation to about 0.15 mm, lower bed temperature 5 °C, verify the Z-offset, and ensure the fan engages from layer 2. That combination resolves roughly 95% of cases. Above 0.3 mm of flare, fix the upstream cause — Z-offset, bed temperature or flow — rather than compensating for it.