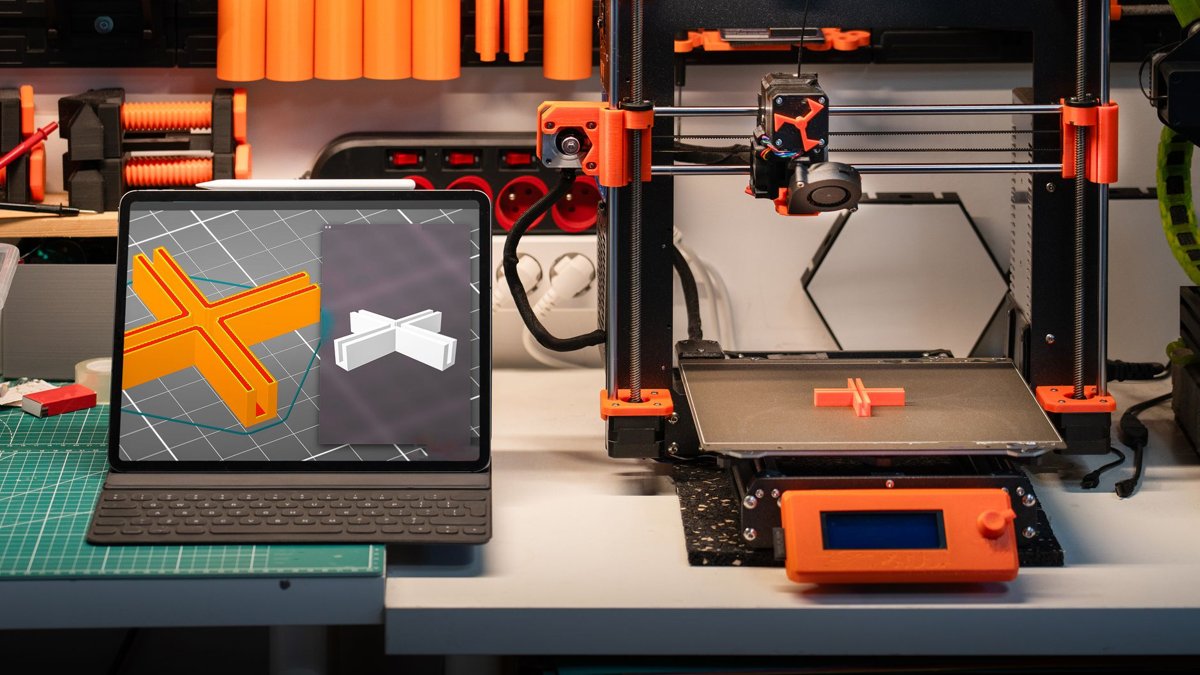
A 3D print farm is not a room full of printers — it’s a production system in which several machines share one set of profiles, one pool of qualified materials, one maintenance discipline and one way of deciding what runs where. Get those four things standardised and you can run a 3D print farm production line that delivers predictable parts on a predictable date. Skip them and you get the classic failure mode: every printer busy all day, and orders still late because jobs finish in a clump, parts sit on cold beds, and you spend your afternoon firefighting instead of dispatching.
The useful mental model is that a farm scales output only if you standardise inputs first. Throughput is a queueing-and-constraints problem long before it’s a “buy more printers” problem. Below is how the parts fit together — layout, standardisation, routing, maintenance, material control and costing — with the numbers that matter.
Standardise the inputs before you scale the machines
Printer standardisation is the backbone. Running the same model with identical configuration flattens the learning curve, simplifies maintenance (one set of spares, one service routine) and keeps output consistent across machines so a part off printer 7 matches the same part off printer 2. Standardisation extends to materials: a core set of well-understood filaments — PLA and PETG as the workhorses, ASA and the nylons where the job demands them — gives you predictable results instead of a new calibration adventure per spool.
This is where production diverges hardest from the bench. A hobbyist happily tunes every print by geometry. A production line needs standardised profiles that work reliably across different geometries, so you slice from one baseline rather than hand-tuning each job. Three practical rules:
- One baseline profile per material/nozzle combination, version-controlled, so every printer runs from the same starting point.
- Name and label every printer identically in software and on the physical machine — “PETG-04” on the dashboard and on the frame.
- Define simple routing rules up front: by material, nozzle size and bed size, so a job can only land where it will actually print.
If you want a single enforced baseline, a shared G-code pre-flight checklist catches the profile drift that creeps in when people tweak a setting “just for this one”.
Lay the floor out as a line, not a storeroom
Group printers by purpose and material. Running all your PETG on one bank simplifies temperature management and cuts changeover time; keep any resin or SLA work in its own area entirely. The gains compound: a material-grouped layout is easier to monitor, easier to feed and easier to service.
Leave room to work. A common guideline is roughly 0.9 m (a 3-foot aisle) between rows for comfortable access during a run — that’s a vendor guideline rather than a code requirement, but the logic holds: space gives you airflow for stable chamber temperatures and physical access for maintenance without shutting down neighbours. Then build the zones a line needs:
- Material prep — incoming filament in a climate-controlled area, PLA and PETG sealed with desiccant, sited near the printer clusters but off the main traffic path.
- Post-processing — a centralised part-removal and inspection station between the printers and the finishing area. This is the bottleneck that quietly eats your speed advantage: if parts queue at removal and inspection, multiple printers buy you nothing. Batch similar post-processing tasks and give each operation a dedicated spot.
- Design workstation — with sight lines to the floor. Separating design from production creates delays you’ll feel every day.
Run ethernet to each printer station. Reliable connectivity is what makes remote monitoring trustworthy; Wi-Fi adds failure points you don’t want in a production environment.
Queueing and routing: the real throughput lever
When you scale past one printer your biggest enemy is attention fragmentation. Somewhere around 10–30 machines, a farm loses hours when jobs bounce between printers that aren’t actually configured to run them — so the queue has to be constraint-aware. It should know each printer’s loaded material, nozzle and bed size, and only dispatch a job to a machine that can print it.
Stagger your finishes. If one job runs far longer than the rest, reserve a dedicated machine for it and keep the shorter jobs cycling on the others — that way beds clear at a steady rate instead of eight printers all finishing at 16:55 and nobody free to harvest them. Batch by material and by risk, and the line breathes.
Monitoring has to drive action, not just display status — a dashboard doesn’t fix a failed print. A sensible minimum alert set, each with a named person who responds:
- Print finished (bed needs clearing)
- Print paused, cancelled or errored
- Filament runout
- Thermal fault / runaway protection triggered
- Camera offline
Use a farm dashboard once you’re at 4+ printers. If you’re running Klipper/Moonraker or OctoPrint instances, a farm manager lets you see the whole fleet and push jobs without babysitting each web UI — our guide to Klipper fleet management goes deeper on that.
Farm software: what the options actually do
Pick the layer that matches your fleet and how far down the order pipeline you need to go.
| Tool | What it does well | Connection |
|---|---|---|
| Prusa Connect (Farm mode) | Smart job queueing, full project history, quality-control processes, bulk ops, roles, material management, API. Moving to a local-first binary (office PC, server, Raspberry Pi or NAS) with audit logs and local automation — announced at Formnext 2026; confirm GA before relying on it. | Cloud SaaS / local binary |
| SimplyPrint | Cloud fleet queueing, monitoring and automation across 150+ brands and 790+ models, mixed in one farm. Replaces per-printer slicer-and-SD-card workflows with one shared queue. | Direct, SimplyPrint Client or Raspberry Pi |
| FDM Monster | Open-source farm server via OctoPrint, Klipper/Moonraker, PrusaLink and Bambu LAN mode. | Self-hosted |
| Printago | Centralised management, material/colour handling across printers, automation toward continuous production. | Cloud |
All of these are good at monitoring and queueing. What they generally don’t do is run the job end to end from a customer order to a dispatched, costed box — which is the gap Printer Farm is built to fill.
Run the whole order-to-despatch line, not just the printers
If you’re selling printed parts, the production line starts at the web order and ends at a delivery note — and the spreadsheet work in between is where margin leaks. Printer Farm (open beta, free 14-day Workshop trial, no card) runs that line end to end:
- Orders in. WooCommerce (one click, read-only key), Shopify, or your own custom website connected through the farm’s shop API (a token, no plugin) pull orders every 10 minutes and match them to part numbers by SKU.
- Stock first, then a works order. Existing stock is used first; one click raises a works order for exactly the shortfall, carrying the due date and customer reference.
- Slice. A Cloud Slicer in the browser — the real OrcaSlicer engine with full Printer/Filament/Process presets, imported Orca profiles and STEP conversion — slices on your own PC, or on our servers on Workshop and above, or plates arrive from ATN Slicer as revisions.
- Dispatch to the fleet. The queue sends each job to the first free compatible printer with the right filament loaded, and only accepts a job onto a confirmed clear bed.
- Watch it. Camera-based AI failure detection raises alerts; timelapses and a chat assistant (Telegram/Teams) keep you informed.
- Bank and cost. Good prints bank into stock and onto the works order, spools are deducted gram by gram, and a true cost per part is recorded — mixed plates split by weight.
- Despatch. You confirm the bed is clear and press Despatch; a numbered delivery note is raised, and for a custom website connected through the API the order is marked shipped and the customer emailed automatically (WooCommerce and Shopify are import-only).
It needs a small agent on a Windows or Linux computer that stays on to bridge the printers; your files stay on your own machine. It works with Creality and any Klipper/Moonraker printer, Bambu Lab in LAN mode, FlashForge, OctoPrint, PrusaLink and Duet. For the mechanics of the order side, see from web order to shipped box.
Maintenance: schedule it to the production cycle
High throughput accelerates wear, so schedule preventive maintenance to align with production cycles and interfere with output as little as possible. A print farm runs harsh — closer to a car engine at 24/7 than a weekend hobby. Vendor estimates put heavy farm use (80–150+ hours a week) at a 3–5 year machine lifespan, and anecdotal long-run data on popular farm printers like the Bambu P1S shows 2,600+ hours over 2.5 years and 1,400+ hours on a first hardened-steel hotend — treat those as individual experience, not a warranty.
The first things to fail at scale are predictable: nozzle and hotend wear, feed-path friction, AMS handling problems, chamber grime, first-layer drift, and small wear parts that add up to a background maintenance load. A workable baseline interval set:
| Task | Interval |
|---|---|
| Clean build plate (IPA) | Every print |
| Wipe nozzle / check wear | Every few prints |
| Clean AMS feed path, check desiccant | Weekly |
| Inspect belts, re-tension on calibration warning | Monthly |
| Inspect PTFE tube and hotend | Every 3–6 months, or on persistent under-extrusion |
Two nuances worth knowing. First, PTFE tubes are consumables — they wear as filament rubs through them, so check them during maintenance rather than waiting for a jam. Second, don’t let auto-calibration lull you. Vibration compensation and flow calibration run automatically and paper over manual tuning, but they compensate for the printer’s current mechanical state — they don’t fix a worn nozzle or a loose belt. If quality degrades despite calibration passing, inspect the nozzle and belts directly.
On materials: a stock stainless hotend suits non-abrasive filament — PLA, PETG, ABS, PA, TPU — but abrasives chew it fast; a stainless nozzle can wear after a single print, and one example shows wear after just 10 hours of PETG-CF. If carbon-fibre, glass-fibre, metal-filled or glow-in-the-dark are in your mix, fit a hardened-steel hotend to that bank and route those jobs only to it.
Control filament like a production input
Treat filament as a controlled input: keep production spools separate from experimental spools, and run an inventory system that tracks not just quantity but material age, colour batch and supplier lot — because a batch change is exactly the kind of thing that turns a reliable profile unreliable overnight. Printer Farm’s spool tracking deducts grams as prints run and feeds the real cost per part, which closes the loop with your cost-per-part numbers.
Drying is part of material control, and the one place to be conservative. Sources disagree on exact temperatures, so use the lower end to avoid softening or fusing loops on the spool:
| Material | Dryer temperature | Time |
|---|---|---|
| PLA | 45–55 °C (never above ~55 °C) | 4–6 h |
| PETG | 60–65 °C | 4–8 h |
| ABS / ASA | 65–80 °C | 4–6 h |
| TPU | 50–70 °C | 4–6 h |
| Nylon (PA) | 70–90 °C | 8–12+ h |
PLA starts deforming around 64 °C and will fuse into a solid puck, so keep it under ~55 °C. Nylon at the top of its range exceeds most food dehydrators (often 70 °C max) and needs a dedicated filament dryer or an oven with accurate control. After drying, store sealed with desiccant and feed from the dry box.
Quality control that scales
Standardised profiles get you repeatable geometry; the remaining variance shows up as defects, and the fix is to read the symptom before it wastes a long production run. Camera-based AI failure detection on each printer catches spaghetti and layer-shift early, and for anything that slips through, our defect identifier and Diagnose tool name the fault and the slicer change to make. For the strengths and blind spots of camera monitoring, see our piece on vision AI for 3D printing.
FAQ
How many printers before I need farm management software?
Four. Below that you can reasonably track machines by hand; at 4+ a dashboard pays for itself, and if you’re running Klipper/Moonraker or OctoPrint it lets you see the whole fleet and push jobs without opening each web UI. Once you’re selling printed parts, step up to software that also handles orders, works orders, stock and costing.
Do all my printers have to be the same model to run a production line?
No, but standardising the model simplifies spares, maintenance and profiles, and keeps output consistent. If you run a mixed fleet, standardise what you can — profiles per material, naming, routing rules — and use a constraint-aware queue that only sends jobs to compatible machines. Printer Farm is built for mixed-brand fleets across Creality, Klipper/Moonraker, Bambu in LAN mode, FlashForge, OctoPrint, PrusaLink and Duet.
What’s the single biggest throughput killer in a print farm?
Post-processing, closely followed by clustered finish times. Multiple printers buy you nothing if parts queue at removal and inspection, or if every machine finishes at once with nobody free to harvest. Batch post-processing at a dedicated station and stagger your job lengths so beds clear at a steady rate.
Can I run Printer Farm without sending my files to the cloud?
Yes. A small agent runs on a Windows or Linux computer that stays on and bridges your printers; your files stay on your own machine, and slicing runs on your own PC through ATN Slicer (Workshop and above can also slice on our servers). You can start on the free 14-day Workshop trial with no card. Plans and current pricing are on the subscribe page.